Trending

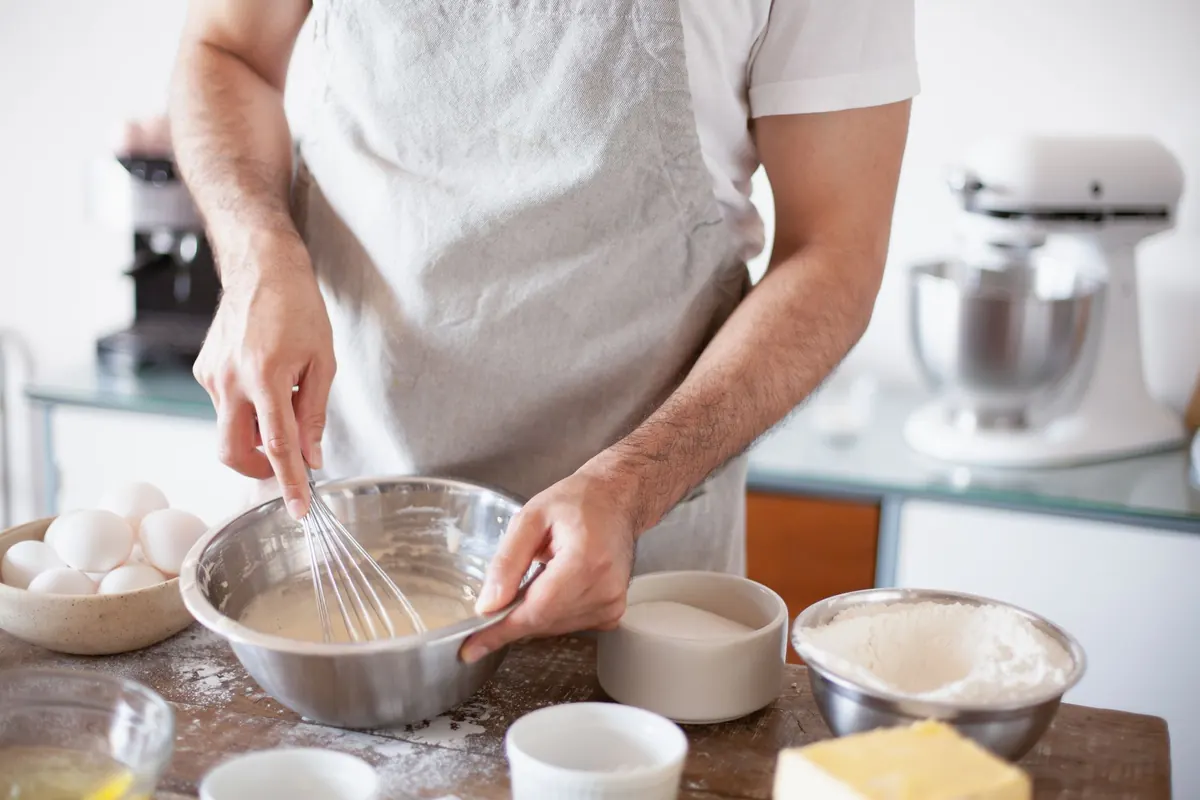
A custard that turns grainy the moment hot milk meets the eggs is one of the quiet disappointments of home baking. You followed the recipe, you whisked, and you still ended up with a saucepan of sweet, softly scrambled eggs.
Tempering is the fix, and it is less mysterious than it sounds. You warm the eggs gradually before they join the hot liquid, so their proteins never get shocked into clumping. Two extra minutes and one steady hand turn custard from a gamble into a routine.
Egg yolk proteins sit coiled in a delicate structure. Heat makes them unfold and link together, and that linking is exactly what you want in a custard: a soft, barely-set network that thickens without turning rubbery. The problem is speed. Yolks begin to thicken in the mid-60s Celsius and set firmly around 82°C (180°F). Pour milk that hot straight into cold eggs and the first yolks it touches leap past the soft stage into firm curds. Those curds are the lumps you feel on your tongue.
Tempering spreads that heat out. You add a little hot liquid, whisk hard, then add a little more. The eggs climb from refrigerator-cold to warm over a minute or two, and by the time they meet the rest of the milk their proteins set gently and evenly.
Sugar helps as well. Whisked into the yolks beforehand, it interferes with protein bonding and raises the temperature at which eggs coagulate. A spoonful of cornstarch per two cups of milk does something similar. Neither replaces tempering, but both give you a cushion if your hand slips.
Tempering fails more often from bad setup than bad technique. Two things have to be ready at the same moment, and one of them is time-sensitive.
Two tablespoons is a good default, but the size of your egg mixture matters. If you are working with six yolks and a cup of sugar, you can afford a quarter cup at a time. When in doubt, go smaller and add more rounds. The method is self-correcting; you simply keep adding until the bowl feels warm.
The whisk should never stop while milk is going in. Stopping, even for a second, lets the hot liquid sit against the yolks and cook them where they land. If your arm tires, pause the pour, not the whisk.
The smaller the gap between the two, the safer the pour. Room-temperature eggs and milk that is steaming but not boiling give you the widest margin for error. This is the single easiest change to make.
Small flecks mean a few yolks cooked before the rest caught up. Strain the custard through a fine sieve and most of the problem disappears. For a noticeably lumpy batch, strain it and then blend briefly — a stick blender or countertop blender will smooth it out, though it will be a touch thinner.
If the custard has genuinely scrambled, you cannot undo it. Cooking is one-way; there is no technique that returns set egg proteins to liquid. Your options are to strain what you can, blend and strain it, or start again with a fresh batch. Set the pan in a bowl of ice water if you suspect it is still cooking while you decide.
Two prevention notes worth remembering: never walk away from a custard on the heat, and never let it boil. A boil is the classic cause of a batch that curdles in the final minute.
Once tempering feels natural, a whole shelf of recipes opens up. Pastry cream, ice cream base, lemon curd, crème anglaise, hollandaise, bread pudding custard and quiche filling all depend on the same move. So does homemade eggnog. Learn it once and you will use it for years.
Tempering rewards patience more than precision. Use room-temperature eggs, keep the milk just below a boil, never stop whisking, and strain at the end even when everything looks perfect. That last step costs ten seconds and quietly rescues small mistakes.
Cook custards to the nappe stage and refrigerate them within two hours of finishing, and treat any custard left out longer than that as something to discard. For anything involving raw or lightly cooked eggs, follow your local food safety guidance and use your judgement, especially when serving people who are pregnant, very young, older, or immunocompromised.
Make one custard this week and pay attention to how the mixture changes between the second splash and the last pour. That feeling — thin, then slightly foamy, then suddenly silky — is the whole technique in your wrist. After a batch or two you will stop measuring splashes and start trusting the bowl.
Photo: Los Muertos Crew / Pexels